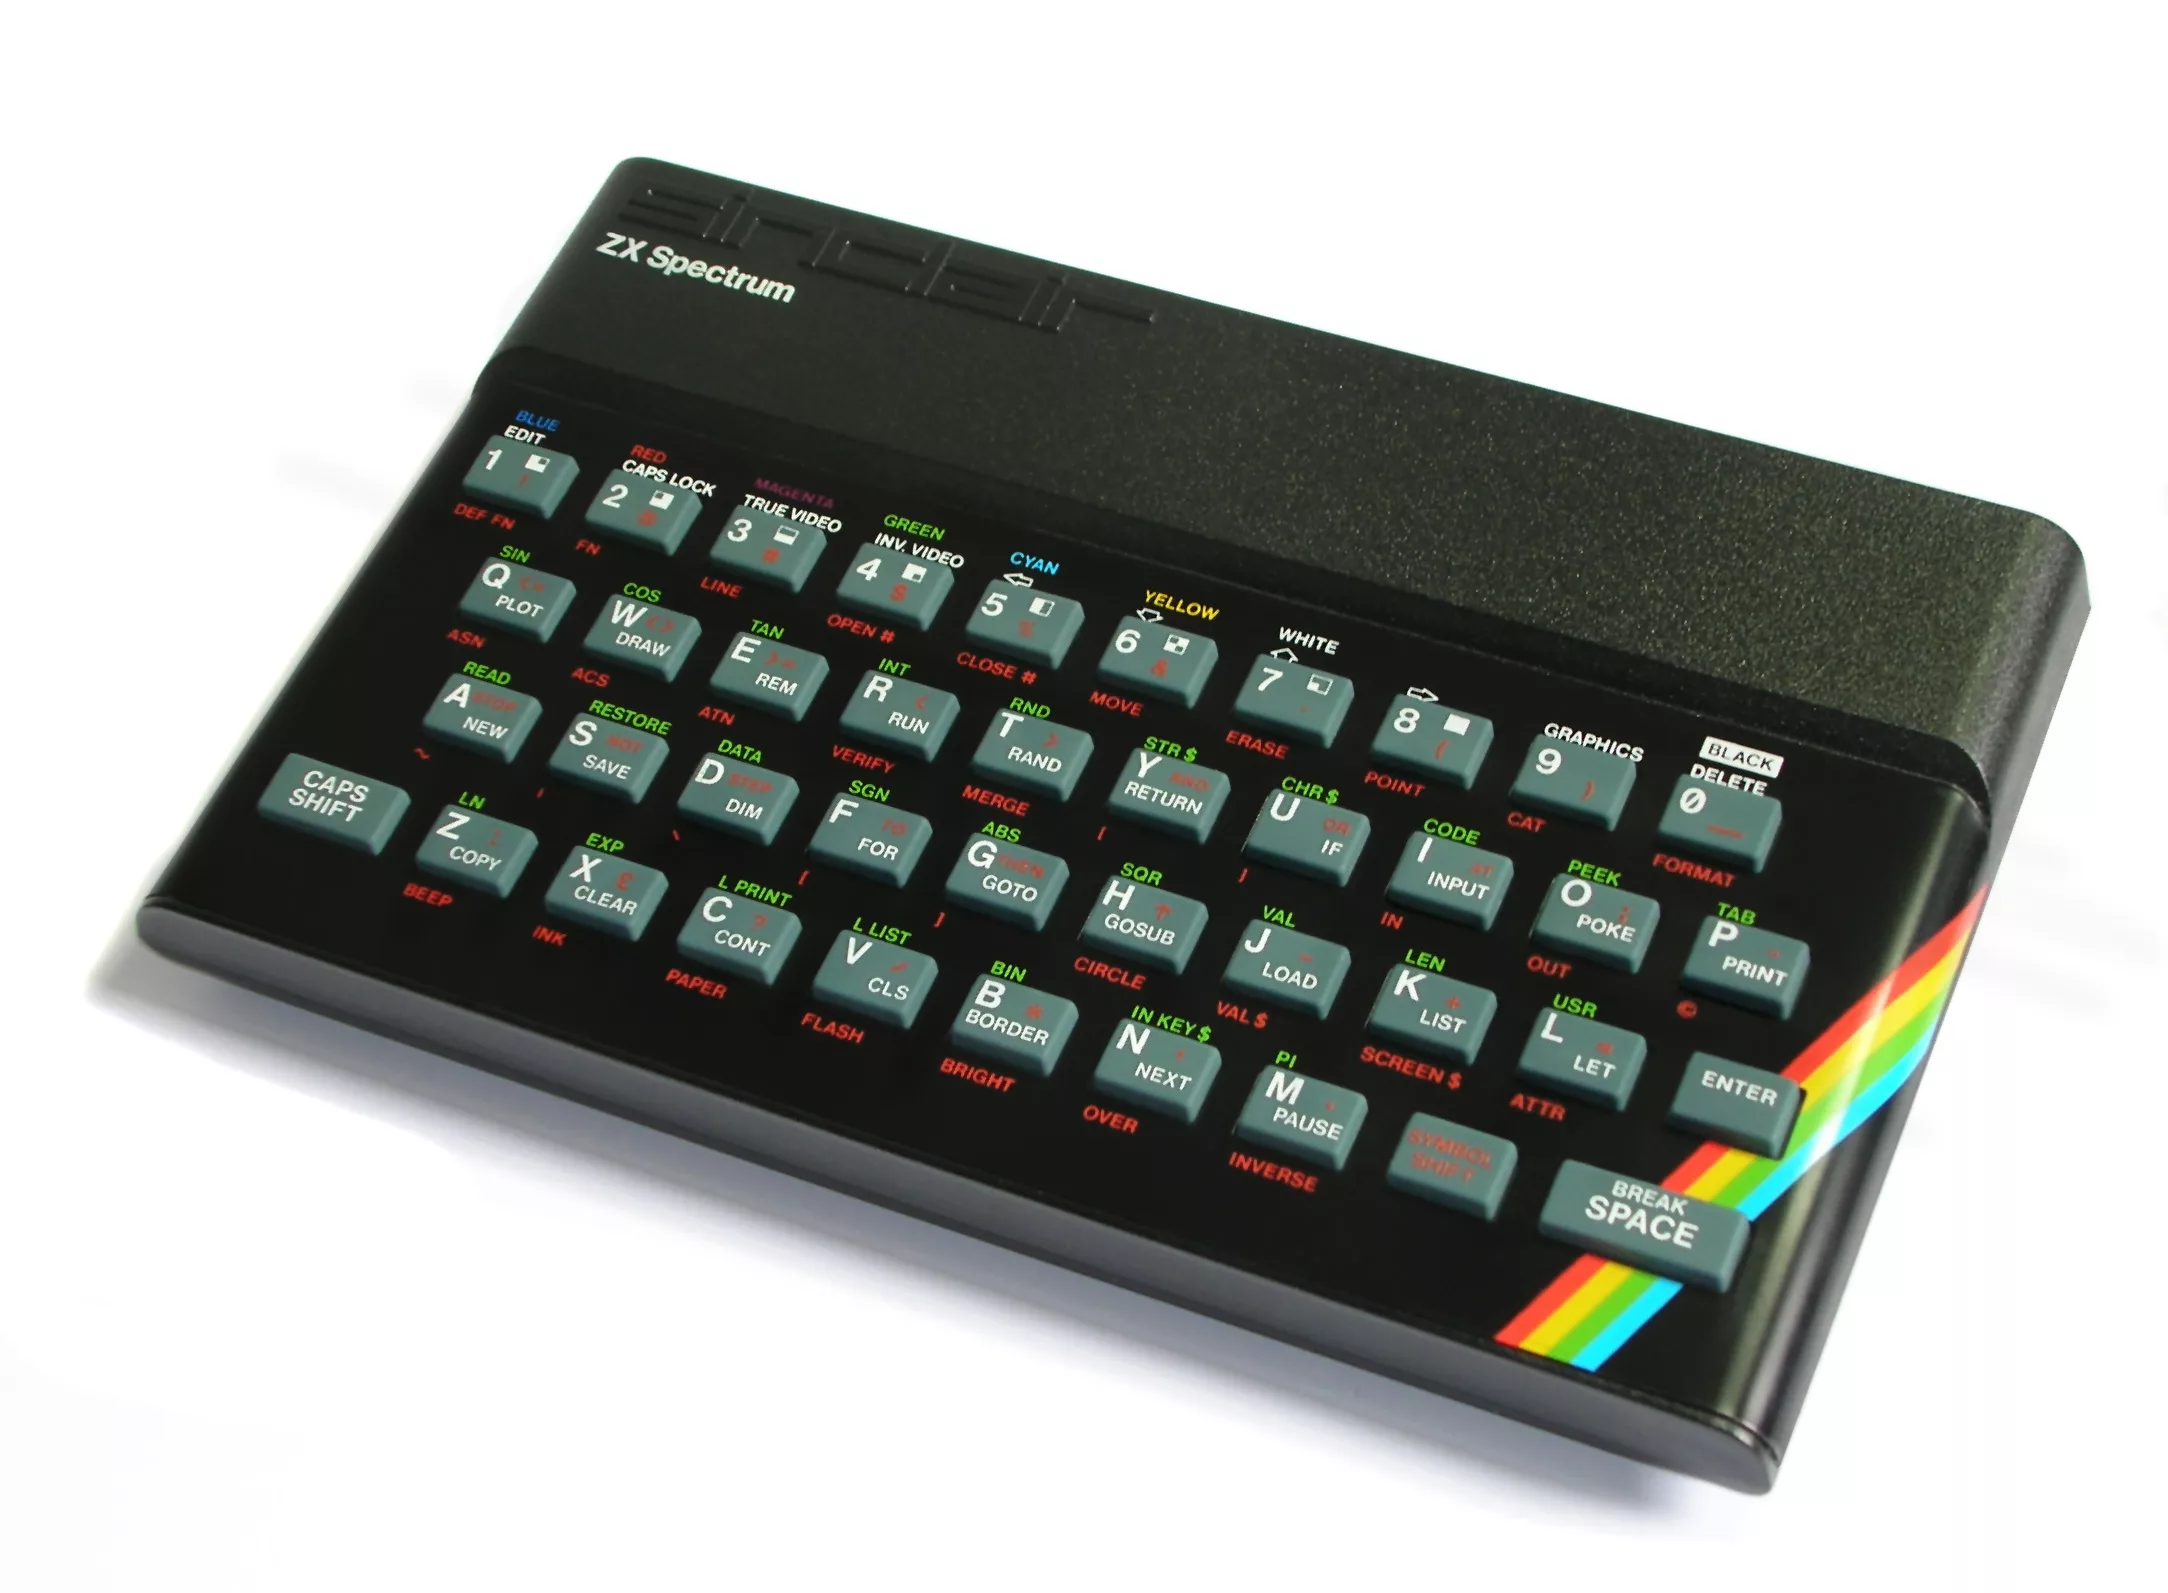
A ZX Spectrum with dead keys usually has a damaged keyboard membrane or a broken ribbon tail, not a bad rubber mat. On a rubber-key 16K or 48K, the job means removing five screws, lifting the top case, unplugging two brittle ribbon tails and replacing the membrane under the mat. Cleaning the tail ends is worth trying before you buy a part.
- A block of five dead keys, or a block of eight: Sinclair’s repair rules, as quoted by RetroTechCollection, point a block of eight dead keys at KB1 and a block of five at KB2, the two keyboard connections.
- Keys that work but feel mushy: usually the rubber mat has perished, which is a separate, cheaper part.
- Keys dead only after reassembly: the left membrane tail may be trapped between the case and the TV modulator.
How can you tell if the membrane needs replacing?
Count the dead keys before you open the case. A block of five or eight points to a ribbon tail or its socket rather than to a worn key. Tarnish on the tail ends can be cleaned with isopropyl alcohol on a swab. Sinclair’s procedure, as quoted by RetroTechCollection, also allows a creased or cracked tail end to be cut back by up to an inch to reach good material. Only replace the membrane if cleaning fails or you can see a crack in the printed tracks under good light.
Which keyboard membrane does your Spectrum need?
The rubber-key 16K/48K and the Spectrum+ membranes are different parts, and the Spectrum+ one has five layers. Check which machine you have before you order. The rubber-key membrane has a five-way and an eight-way ribbon tail.
What do you need to replace a Spectrum keyboard membrane?
- The correct replacement membrane (rubber-key or Spectrum+)
- Small crosshead screwdriver and a tray for the screws
- Isopropyl alcohol and a swab
- Double-sided tape for the keyboard plate, and white spirit for old adhesive
- A hair dryer, if the plate is glued down
How do you replace the keyboard membrane on a rubber-key Spectrum?
- Remove the screws. Unplug everything, turn the machine upside down and remove the five self-tapping screws. The top-centre screw is usually longer, with a tapered head, so note which hole it came from.
- Lift the top case. Hold the halves together, turn the machine upright and lift the top gently. Two ribbon tails connect the keyboard to the main board.
- Unplug the tails. Hold each tail as close to the socket as possible and pull it out without twisting. Old tails are brittle and break easily.
- Remove the keyboard plate. The metal plate may be held by tabs or by double-sided tape. Prise it up evenly, and warm the glue with a hair dryer if it will not move.
- Lift out the mat and the old membrane. Note how the mat sat. Wash the mat in warm soapy water and remove old adhesive from the case with white spirit.
- Fit the new membrane. Feed the tails through the slots and align the locating pins.
- Refit the mat and plate. Fix the plate with fresh double-sided tape cut to size.
- Reconnect the tails. Push each one fully into its socket. Hold the wider tail with both hands so it does not bend too far.
- Test before you screw it together. Power up with the case loose and test every key, including shifted and extended combinations.
- Close the case. Refit the screws in their original holes, snug but not forced, and keep the left tail clear of the modulator.
Why do some keys stop working after reassembly?
Dataserve Retro warns that the left membrane tail can become trapped between the top case and the top of the TV modulator when the case is screwed back together. That causes the same dead keys as a faulty membrane. Bend the tail away from the modulator or protect it with foam or tape.
Is a Spectrum+ membrane replaced the same way?
No. On the Spectrum+ and Spectrum 128, the tails are held by two clamps and the keyboard reaction plate by ten screws. Sinclair’s procedure, as quoted by RetroTechCollection, says to lay the tails in an S shape between the keyboard and the clamps so there is no tension, leave the ends of the middle-layer tracks protruding 1 mm past the clamps, and fit a packing piece about 0.75 mm thick under each tail at the clamps. That is a different job, so use a guide written for that model.
Sources: RetroTechCollection, Sinclair ZX Spectrum Keyboard Membrane Repair; Dataserve Retro, Keyboard Membrane Replacement (rubber-key Spectrum).