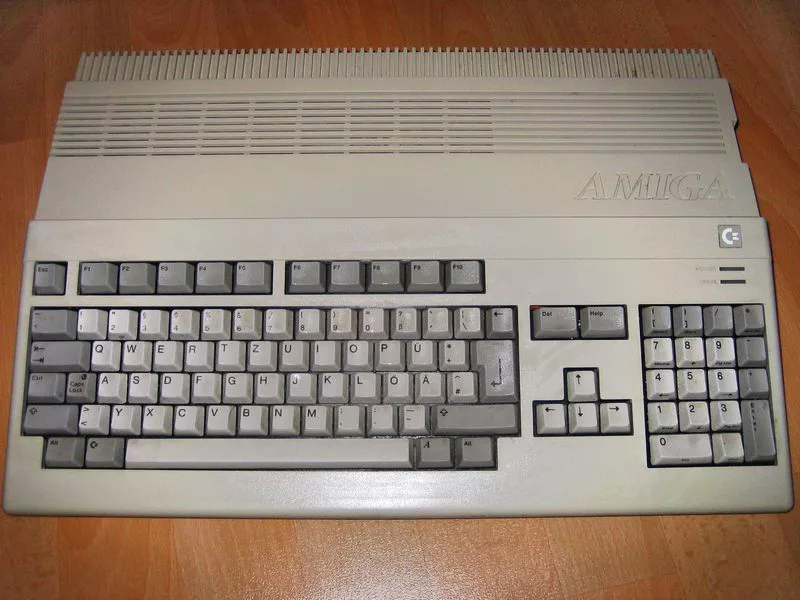
An Amiga 500 needs two separate checks: the capacitors and the battery. On Rev 5, 6 and 6A boards the electrolytics are through-hole parts, and repairers report far fewer capacitor failures than on the later Amigas. The damage that eats copper traces on the A500 Plus (Rev 8A) is a leaking clock battery, and the NiCd battery on the A501 memory expansion also has a high failure rate. Check for battery damage first, then recap.
- Rev 6A boards: through-hole electrolytics, listed below.
- A500 Plus (Rev 8A): a different set of values (not listed here), and a built-in barrel battery that is prone to leaking.
- A501 expansion: a NiCd battery (BT9) with a high failure rate, plus its own capacitors.
Which Amiga 500 board revision do you have?
The revision is printed on the motherboard. RetroTechCollection covers Rev 5 and Rev 6A/7 boards together, and Rev 8A, the A500 Plus, has its own list with different values. Identify yours before you order parts, because the lists are not interchangeable.
Which capacitors does a Rev 6A Amiga 500 need?
RetroTechCollection and Retro Rewind both list 17 through-hole electrolytics for Rev 6A (RetroTechCollection’s heading says 16, but its rows add up to 17), so count the cans on your own board. The sources give different voltages. RetroTechCollection lists 10 µF 16 V, 22 µF 35 V, 47 µF 35 V, 100 µF 16 V, 470 µF 16 V and 3300 µF 10 V, while kit suppliers (Retro Rewind and iKod) fit 50 V parts for the small values and 25 V for the 470 µF and 3300 µF. A higher voltage rating is fine as long as the part fits.
- C306, C712: 10 µF (2)
- C303, C304, C324, C334: 22 µF (4)
- C821, C822: 47 µF (2)
- C811 to C816: 100 µF (6)
- C307: 470 µF (1)
- C401, C402: 3300 µF (2)
Rev 8A boards use a different set of values, and this guide does not list them because the figures could not be confirmed against a primary source. Read the cans on an A500 Plus and check them against its service manual before ordering. On Rev 5, RetroTechCollection notes that the voltage is not printed on most positions and that C307 is shown as both 22 µF and 100 µF in its list, so confirm that one value against the can before ordering. Check the 3300 µF parts physically fit, since higher-voltage versions are larger.
How do you check an Amiga 500 for battery leakage?
Look for white or green crust and corroded legs around the battery, and for lifted or dull traces nearby. On the A500 Plus the barrel battery that keeps the clock running sits on the motherboard. Repair reports describe corroded pins on the 74LS244 at U12 and on Gary, and in severe cases replacement of U12 and the 74LS373 at U13.
- Remove the battery. Snip each of its three legs. The battery only keeps the clock.
- Neutralise the residue. NiCd electrolyte is alkaline, and repair guides use white vinegar to neutralise it, then wash the board and dry it.
- Scrape and clean. Remove corrosion with a fibreglass pen and isopropyl alcohol until you see bright copper.
- Test the traces. Check continuity with a multimeter across any trace that looks damaged.
- Repair what has gone. Bridge broken traces with thin wire and replace chips with corroded legs.
How do you recap an Amiga 500 step by step?
- Identify the board revision. Read it off the motherboard before ordering anything.
- Remove the board. Take it out of the case so you can see the underside.
- Photograph both sides. Note polarity before anything comes out.
- Remove one capacitor at a time. Add fresh solder to the old joints, heat, and ease the leads out.
- Clean the pads. If you find leakage, clean the area with isopropyl alcohol and a fibreglass pen before fitting the new part.
- Check continuity. Test any trace that looked corroded.
- Fit the new capacitor. Match polarity to the board markings and your photo. The stripe on a new electrolytic marks the negative lead.
- Inspect your work. Look under strong light for bridges and cold joints.
- Refit the board. Connect a known-good power supply only.
- Power up. Watch for the Kickstart screen, boot to Workbench, and leave it running for a while to check stability as it warms up.
What do you do about a corroded trace?
A trace that has lost continuity can be bridged with a short length of thin wire soldered to clean copper on either side of the damage. It is not elegant, but it is a normal repair, and it is permanent once the board is back in the case.
Sources: RetroTechCollection, Amiga 500 Capacitor Replacement Guide; Retro Rewind, Commodore Amiga 500 Capacitor List (Rev 6/6A); iKod.se, Capacitor Lists; Nightfall Crew and Retro32 repair write-ups on leaking Amiga batteries. Voltage ratings differ between sources, so the lists above give the minimum and the common upgrade.